Today we thought it would be fun to share a quick tutorial for these simple DIY wooden animal magnets that we recently created. They come together lickety-split and look so charming up on a fridge or any other magnetic surface (they'd also make great gifts). Get the kids involved and make it a fun family crafternoon!
Supplies Needed:
- Flat 1" wooden discs (craft store)
- Wooden iron-on veneer edging (hardware store) | in place of the wooden veneer, thin balsa wood sheets (craft store) or free printable woodgrain paper can be used (find a resource link over on our old blog).
- Plain magnets (craft store)
- Hot glue gun and glue sticks (the low heat variety works well with this project - for use with adult supervision)
- Scissors
- Fine tipped permanent pens (we love these Micron ones from Sakura)
- Optional - colored markers, felt pens, glitter, sequins, or anything else your kids want to use to dress up their magnets
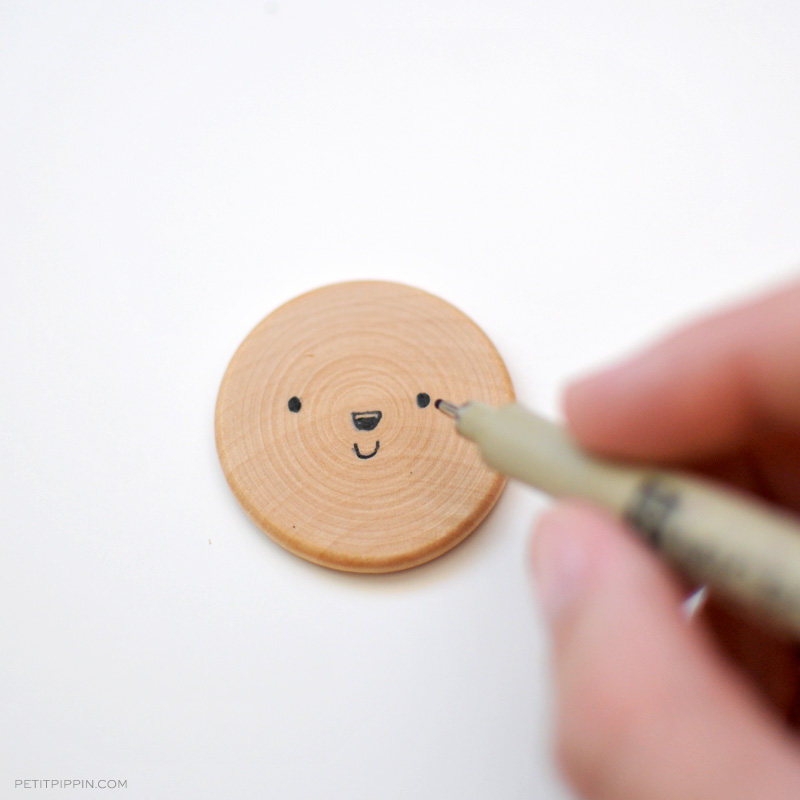
Draw animal faces onto your wooden disks. Your kiddos can get crafty with whatever supplies you have on hand. The more whimsical their creations the better! Cut ear shapes out of the wooden veneer edging (that's what we used for this project), thin balsa wood, or printed woodgrain paper (cardstock is recommended).
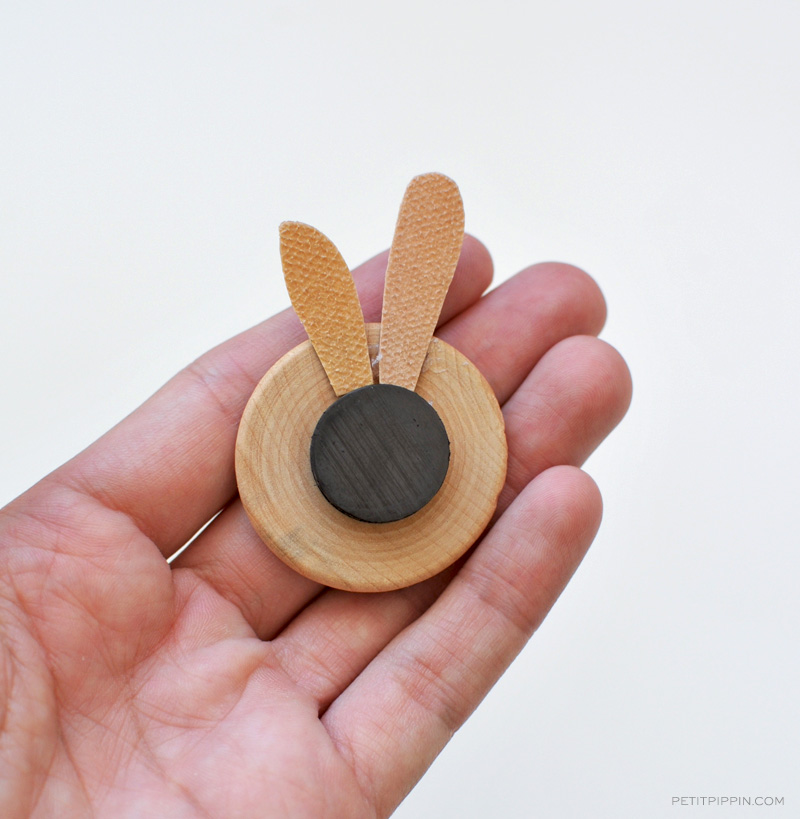
Adhere ears to the back of your magnets (woodgrain facing to the front side of your magnets) with a small spot of hot glue. Apply a magnet to the back of each disk with a dab of glue. Press firmly together for a moment until glue has set. Adult supervision is suggested for this step.
Once your glue is fully set, you're done! Use your magnets on the fridge or on any metal surface around the house. If you have extras, be sure to pack up a set for gift giving! Valentine's Day anyone?!


